


Are you a DIY enthusiast looking for a unique and rustic way to add character to your home? Building a log wall is a great way to do just that. Log walls are a great way to add a unique and rustic touch to any room in your home. Not only do they look great, but they are also a great way to add insulation and soundproofing to your home. In this guide, we will walk you through the steps of building a log wall, from selecting the right logs to finishing the wall. We will also provide tips and tricks to make the process easier and more efficient. So, if you’re ready to get started, let’s dive in!
How to Choose the Right Logs for Your Log Wall: Tips for DIYers
DIYers looking to create a log wall in their home have a variety of options when it comes to choosing the right logs for the job. Here are some tips to help you make the best decision for your project.
1. Consider the size of the logs. Log walls are typically constructed with logs that are 8-10 inches in diameter. If you’re looking for a more rustic look, you can opt for larger logs. However, if you’re looking for a more modern look, you can opt for smaller logs.
2. Choose logs that are straight and free of knots. Logs with knots can be difficult to work with and can create an uneven wall. Look for logs that are straight and free of knots for the best results.
3. Select logs that are dry and free of rot. Logs that are wet or have rot can be difficult to work with and can lead to structural issues down the road. Make sure to inspect the logs for any signs of rot or moisture before purchasing.
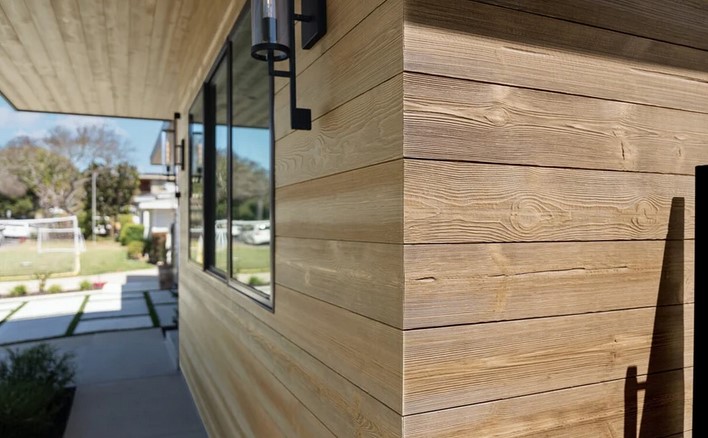
4. Consider the type of wood. Different types of wood have different characteristics and can create different looks. For example, pine logs are light in color and create a more rustic look, while oak logs are darker and create a more modern look.
5. Consider the cost. Logs can be expensive, so make sure to shop around and compare prices before making a purchase.
By following these tips, you can ensure that you choose the right logs for your log wall project. With the right logs, you can create a beautiful and unique wall that will last for years to come.
Step-by-Step Guide to Building a Log Wall: A Comprehensive Guide for DIYers
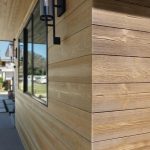
Building a log wall is a great way to add a rustic, natural look to your home. Whether you’re looking to build a log wall for a cabin, a garden, or a living room, this comprehensive guide will provide you with the step-by-step instructions you need to get the job done.
Step 1: Gather Your Materials
Before you begin building your log wall, you’ll need to gather the necessary materials. This includes logs, a saw, a hammer, nails, and a level. Make sure to select logs that are of similar size and shape, as this will make the wall easier to build.
Step 2: Cut the Logs
Once you have your materials, you’ll need to cut the logs to the desired length. Use a saw to make straight, even cuts. Make sure to measure twice and cut once to ensure accuracy.
Step 3: Lay Out the Logs
Once the logs are cut, you’ll need to lay them out in the desired pattern. This will help you visualize the finished product and ensure that the logs are properly aligned.
Step 4: Secure the Logs
Once the logs are laid out, you’ll need to secure them in place. Use a hammer and nails to attach the logs to each other. Make sure to use a level to ensure that the logs are even and straight.
Step 5: Finish the Wall
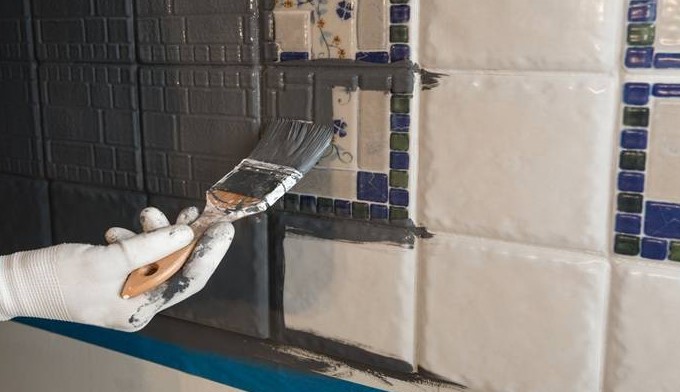
Once the logs are secured, you’ll need to finish the wall. This can be done by adding a sealant or stain to the logs. This will help protect the logs from the elements and give them a polished look.
Congratulations! You’ve successfully built a log wall. With a little bit of patience and hard work, you can create a beautiful, rustic addition to your home.
Conclusion
Building a log wall is a great way to add a rustic touch to any home. With the right tools and materials, it is a relatively easy project that can be completed in a few days. With careful planning and attention to detail, you can create a beautiful log wall that will last for years to come.


+ There are no comments
Add yours