I still remember my first “pro” drywall job back in the early 2010s. I spent six hours meticulously hand-troweling a knockdown finish onto a ceiling, only to have the homeowner point out the uneven patches thirty seconds after I finished. My shoulders were screaming, my hair was white with joint compound, and I realized I had worked hard but not smart. That night, I bought my first Drywall Texture Gun, and it didn’t just change my workflow—it revolutionized my entire approach to interior refurbishment.
If you’ve ever stared at a patched-up wall and wondered how to make the repair “disappear” into the surrounding orange peel or knockdown finish, you’ve hit the limit of manual tools. To achieve a seamless, high-efficiency output, you need to master the physics of air-powered texturing.
The Mechanical Advantage of the Drywall Texture Gun
At its core, a Drywall Texture Gun is essentially a specialized spray painter for heavy solids. Imagine trying to throw handfuls of mud at a wall and hoping they stick in a perfect pattern—that’s what hand-texturing feels like to a beginner.
Using a texture gun is more like using a garden hose nozzle. By harnessing compressed air, the gun atomizes the thick joint compound into consistent droplets. Whether you are aiming for a fine “orange peel” or a heavy “splatter” for a knockdown finish, the gun provides a level of uniformity that the human hand simply cannot replicate over large surface areas.
Why Speed is the Ultimate Quality Metric
In the world of home improvement, speed isn’t just about finishing early; it’s about the “wet edge.” If your texture dries at different rates across a wall, the pattern will look blotchy. A Drywall Texture Gun allows you to cover an entire 12×12 room in under twenty minutes, ensuring the entire surface cures simultaneously for a flawless professional finish.
Anatomy of the Setup: Beyond the Hopper
To get the most out of your Drywall Texture Gun, you have to understand that the gun is only half of the equation. In my decade of experience, the most common “fail” for beginners isn’t the gun—it’s the air supply.
The Compressor Requirements
You cannot run a professional-grade hopper gun with a tiny “pancake” compressor designed for nail guns. You need Continuous Airflow (CFM).
-
The Sweet Spot: Look for a compressor that delivers at least 5.0 to 7.0 CFM at 40 PSI.
-
If your air pressure drops mid-wall, your “orange peel” will suddenly turn into “chunky salsa” because there isn’t enough air to atomize the mud.
The Material Mix (Viscosity is Key)
The secret “sauce” of texturing is the consistency of your joint compound. We call it “pancake batter” in the industry.
-
Pro Tip: Use a mixing paddle on a heavy-duty drill. If you try to mix texture mud by hand, the tiny lumps will clog your spray nozzle every thirty seconds, turning a fun project into a nightmare of disassembly and cleaning.
Mastering Different Patterns with One Tool
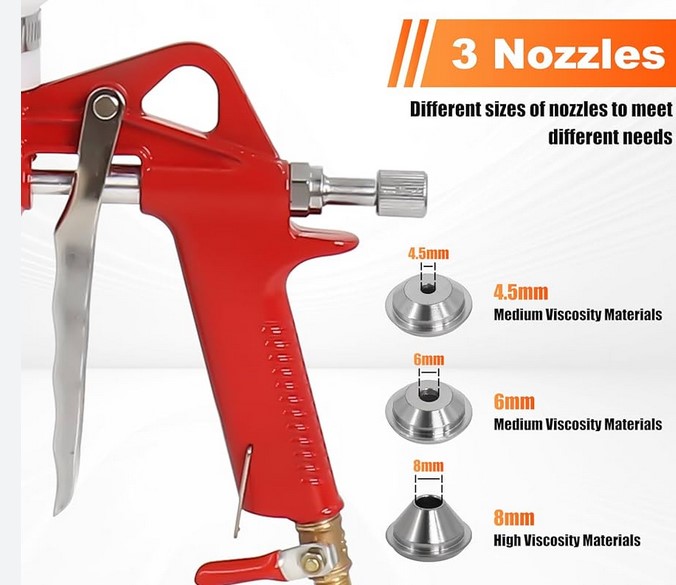
The beauty of a modern Drywall Texture Gun lies in its versatility. By adjusting the air pressure (PSI) and the nozzle size, you can create three distinct interior finishes that define modern American homes.
1. Orange Peel: The Subtle Professional
This is the gold standard for most modern interiors. It’s a fine, bumpy texture that hides imperfections without being overwhelming.
-
The Setup: Small nozzle, high air pressure (around 30-40 PSI), and thinner mud.
-
The Technique: Keep the gun moving in a circular, overlapping motion about 18-24 inches from the wall.
2. Knockdown: The Elegant Depth
Knockdown is essentially a heavy splatter that is “knocked down” with a wide taping knife after it has partially dried.
-
The Setup: Medium to large nozzle, lower air pressure (15-25 PSI), and slightly thicker mud.
-
The Timing: This is where my experience pays off—wait about 10-15 minutes until the “peaks” of the mud lose their wet shine before you lightly skim the surface with a knockdown knife.
3. Popcorn (Acoustic): The Utility Finish
While less popular for aesthetics today, popcorn texture is still king for sound dampening and hiding catastrophic ceiling defects.
-
The Setup: The largest nozzle and specialized acoustic aggregate mixed into the mud.
Expert Advice: The “Invisible” Prep Work
The biggest mistake I see beginners make is thinking the Drywall Texture Gun will hide bad drywall tape jobs. It won’t. In fact, texture often highlights “humps” in the wall because of how light hits the bumps.
Always prime your drywall before you texture. If you spray wet mud directly onto raw drywall paper and dried joint compound, they will absorb moisture at different rates. This leads to “flashing,” where the texture looks dull over the seams and shiny over the paper. A quick coat of PVA primer solves this instantly.
Maintaining Your Equipment for Longevity
A Drywall Texture Gun is a rugged tool, but joint compound is essentially liquid rock. If it dries inside the gun, the tool is effectively trash.
-
The 5-Minute Rule: If you take a break longer than five minutes, drop your nozzle into a bucket of water.
-
Deep Cleaning: At the end of the day, disassemble the trigger mechanism and the air needle. Lightly coat the needle with a non-petroleum lubricant to keep the trigger pull smooth for the next job.
Troubleshooting Common Issues
-
Sputtering: Usually caused by a leak in the air line or mud that is too thick. Check your hose connections first.
-
Thinning Patterns: This happens when you run out of air. Stop spraying, let the compressor tank refill, and check your CFM settings.
-
Heavy Globs: Your nozzle is likely partially clogged. Use a small wire brush to clear the tip without stopping the air flow.
Summary: Elevating Your Interior Game
The jump from manual texturing to using a Drywall Texture Gun is like the jump from a bicycle to a jet engine. It requires a bit more setup and a bit more cleaning, but the results are incomparable. You gain the ability to finish basements, repair ceilings, and refurbish interiors with a speed that makes the project feel less like a chore and more like a craft.
Remember, the tool provides the power, but your “rhythm” provides the beauty. Practice on a scrap piece of cardboard until you find that steady, sweeping motion that feels like second nature.
Are you planning a renovation and feeling nervous about that first spray? Or perhaps you’ve had a “mud-catastrophe” in the past? Drop a comment below with your project details—I’d love to help you dial in your settings for a perfect finish!
+ There are no comments
Add yours